TL;DR: New Amazon sellers can register, verify, and log into Seller Central in a few simple steps, then start managing their dashboard and listings.
Key Takeaways
- Register with valid business and identity documents before attempting to log in.
- Choose the correct Amazon marketplace and selling plan for your product strategy.
- Secure your account with two‑step verification and set appropriate user permissions.
Table of Contents
- Quick Answer: How Do You Log In as an Amazon Seller?
- Key Takeaways Before You Start
- What Is Amazon Seller Central Login?
- Before Login: Amazon Seller Registration Requirements
- How to Register and Log In to Seller Central
- First Dashboard Tasks After Amazon Seller Login
- Amazon Seller Login Troubleshooting
- After Login: Use Data Before Listing Your First Product
- FAQ
- References
Note on marketplaces: This guide is specifically optimized for the US market.
Quick Answer: How Do You Log In as an Amazon Seller?
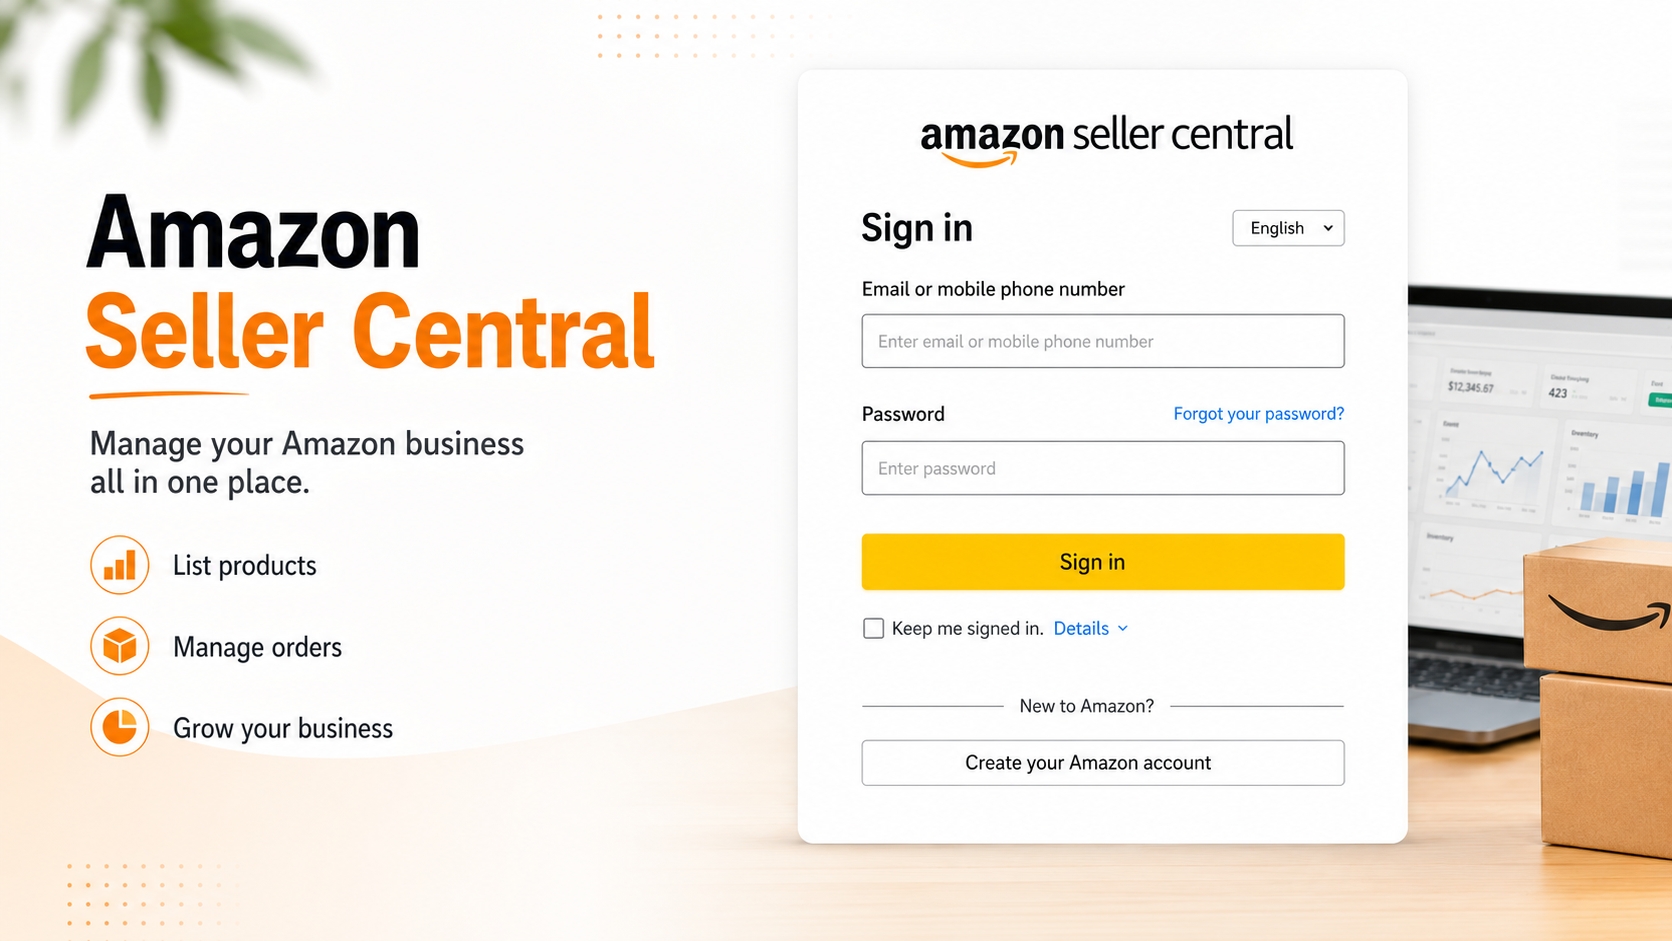
The fastest way to access your Seller Central account is to use Amazon's official sign‑in page. New sellers must first complete the registration flow before the login credentials become active.
Use the official Seller Central sign‑in flow
Navigate to sellercentral.amazon.com, enter your registered email and password, and click "Sign in". Amazon will automatically direct you to the correct marketplace based on your account settings.
New sellers must register before they can log in
If you haven't completed the Amazon Seller account registration, the sign‑in page will prompt you to start the registration process. This prevents you from attempting to log in with an unapproved account.
Key Takeaways Before You Start
Preparing the right documents and making strategic choices early will save you time and avoid account suspensions.
Registration documents
You'll need a government‑issued ID, a credit card, and a tax identification number (SSN or EIN). Consistency across these documents is crucial for identity verification.
Marketplace selection
Amazon operates separate marketplaces (e.g., amazon.com, amazon.ca). Choose the one that matches your target customers before you register; you can add additional marketplaces later.
Security setup
Enable two‑step verification (2SV) as soon as your account is approved. This protects you from unauthorized access and is required for high‑volume sellers.
What Is Amazon Seller Central Login?
Seller Central is the portal where Amazon sellers manage inventory, orders, payments, and performance metrics. It is distinct from buyer accounts, Vendor Central, and Merch on Demand.
Seller Central vs. buyer account
A buyer account lets you shop on Amazon, while Seller Central provides tools to sell. You can own both, but they operate under separate login credentials.
Seller Central vs. Vendor Central
Vendor Central is invitation‑only and used by manufacturers who sell wholesale to Amazon. Seller Central is open to anyone who wants to sell directly to customers.
Seller Central vs. Merch on Demand
Merch on Demand is a print‑on‑demand service for apparel and accessories. It uses a separate login, but you can link the accounts for unified reporting.
Which account type each business model uses
Individual sellers (low volume) → Seller Central (individual plan).
Professional brands (high volume) → Seller Central (professional plan).
Manufacturers selling wholesale → Vendor Central.
Designers of custom apparel → Merch on Demand.
Before Login: Amazon Seller Registration Requirements
Amazon asks for a comprehensive set of information to verify you as a legitimate seller. Missing or inconsistent data will delay approval.
Business information
Provide your legal business name, address, and phone number. If you operate as a sole proprietor, you can use your personal name, but the address must match the tax ID documentation.
Seller information
Specify the type of products you intend to sell, your target marketplace, and your selling plan (Individual vs. Professional). This helps Amazon assign the correct account features.
Billing information
A valid credit card or bank account is required for monthly fees (Professional plan) and to receive payouts. Amazon will place a small verification hold on the card.
Store and product information
You'll need a storefront name, product categories, and SKU details. Even if you haven't listed products yet, providing at least one sample SKU speeds up the review.
Identity verification
Upload a clear scan of your government ID and a recent utility bill. Amazon uses AI to compare the document against the information you entered.
Document consistency checklist
Name on ID matches business name.
Address on utility bill matches tax address.
Credit card name matches ID name.
All document images are legible and unblurred.
How to Register and Log In to Seller Central
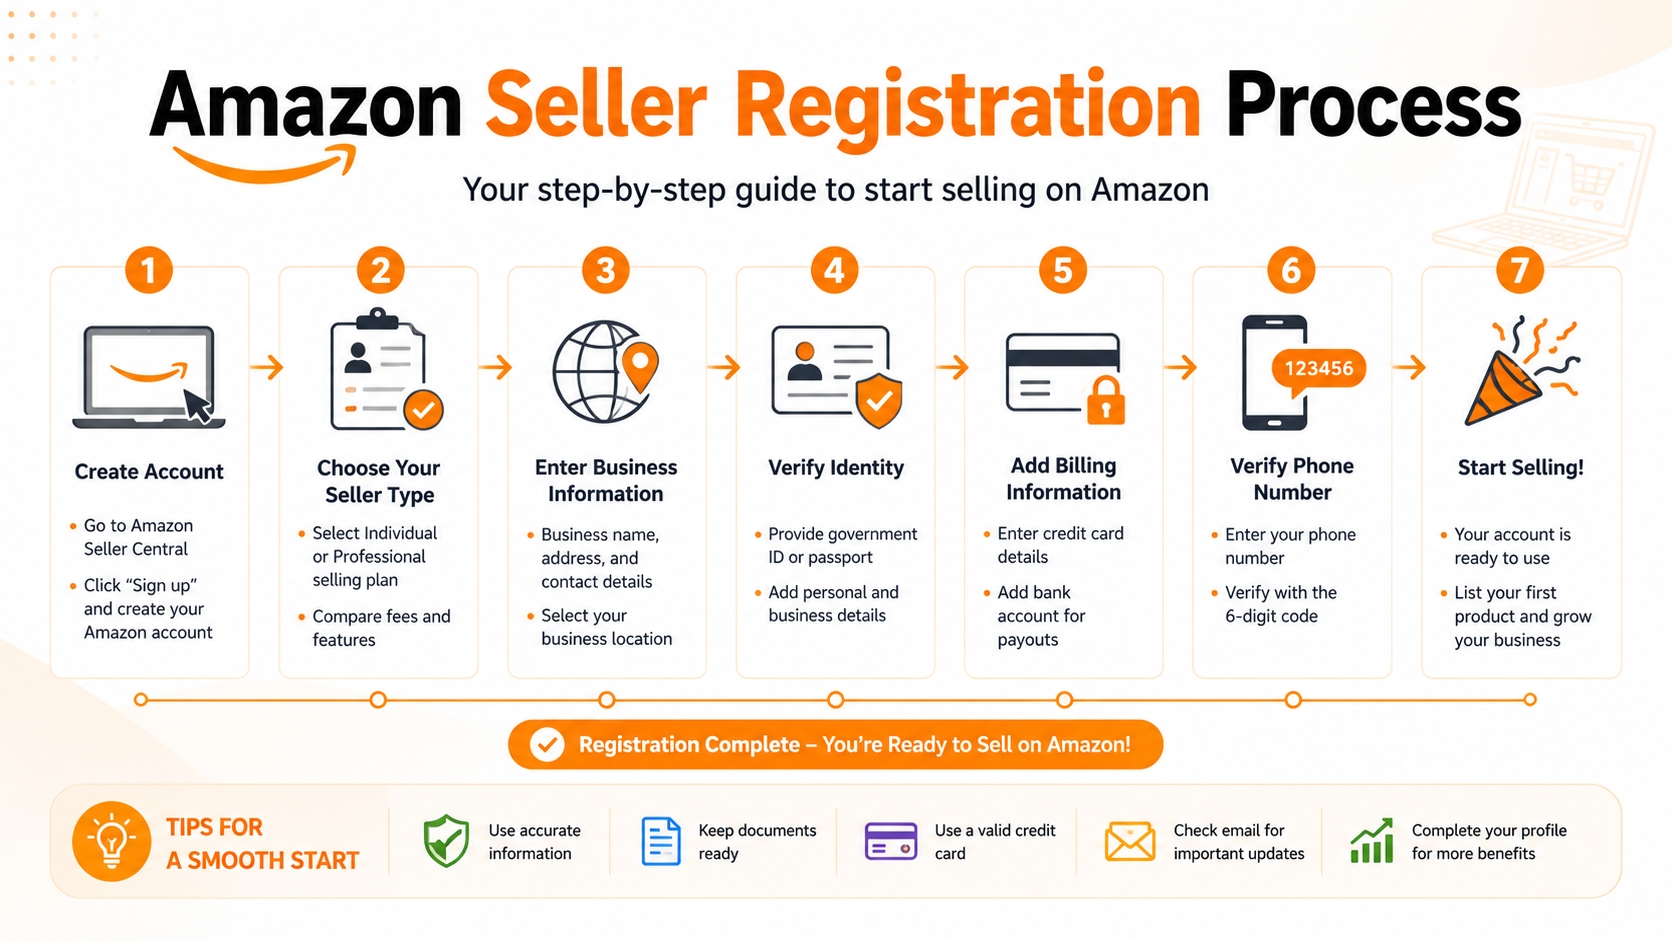
Follow this step‑by‑step workflow to create your Seller Central account and gain access after approval.
Step 1: Choose marketplace and selling plan
Select "Amazon.com" for the US marketplace. Decide between the Individual plan (no monthly fee, $0.99 per item) or Professional plan ($39.99/mo, unlocks bulk tools).
Step 2: Enter account and business details
Fill out the online form with the business and seller information discussed earlier. Double‑check for typos; even a small error can trigger a verification hold.
Step 3: Add payment, tax, and store information
Connect a bank account for payouts, provide your tax classification (U.S. Individual, Corporation, etc.), and upload your storefront branding if you have one.
Step 4: Complete identity verification
Upload the ID and utility bill images. Amazon's system will process them within minutes, but some sellers report a 24‑hour review window.
Step 5: Log in after approval
You'll receive an email confirming account activation. Use the same credentials on the Seller Central sign‑in page to access your dashboard.
What to check on your first login
Verify that your business name, payment method, and shipping settings appear correctly. Update any missing fields before you list your first product.
First Dashboard Tasks After Amazon Seller Login
After you enter Seller Central, several configuration tasks ensure smooth operations and compliance.
Account information
Confirm that your legal name, address, and contact email are accurate in "Settings → Account Info". Errors here can affect tax reporting.
Deposit and charge methods
Add a primary bank account for deposits and a backup card for charge verification. Enable "Amazon Pay" if you plan to accept direct payments on your own website.
Tax settings
Complete the "Tax Interview" in "Settings → Tax Settings". Upload your W‑9 (U.S. individuals) or W‑8BEN (non‑U.S. entities) as appropriate.
Shipping and returns
Set up shipping templates, handling times, and return policies. Consistency with your product listings reduces order cancellations.
User permissions
If you work with a team, go to "Settings → User Permissions" to add secondary users with role‑based access. This protects your credentials while enabling collaboration.
Account Health
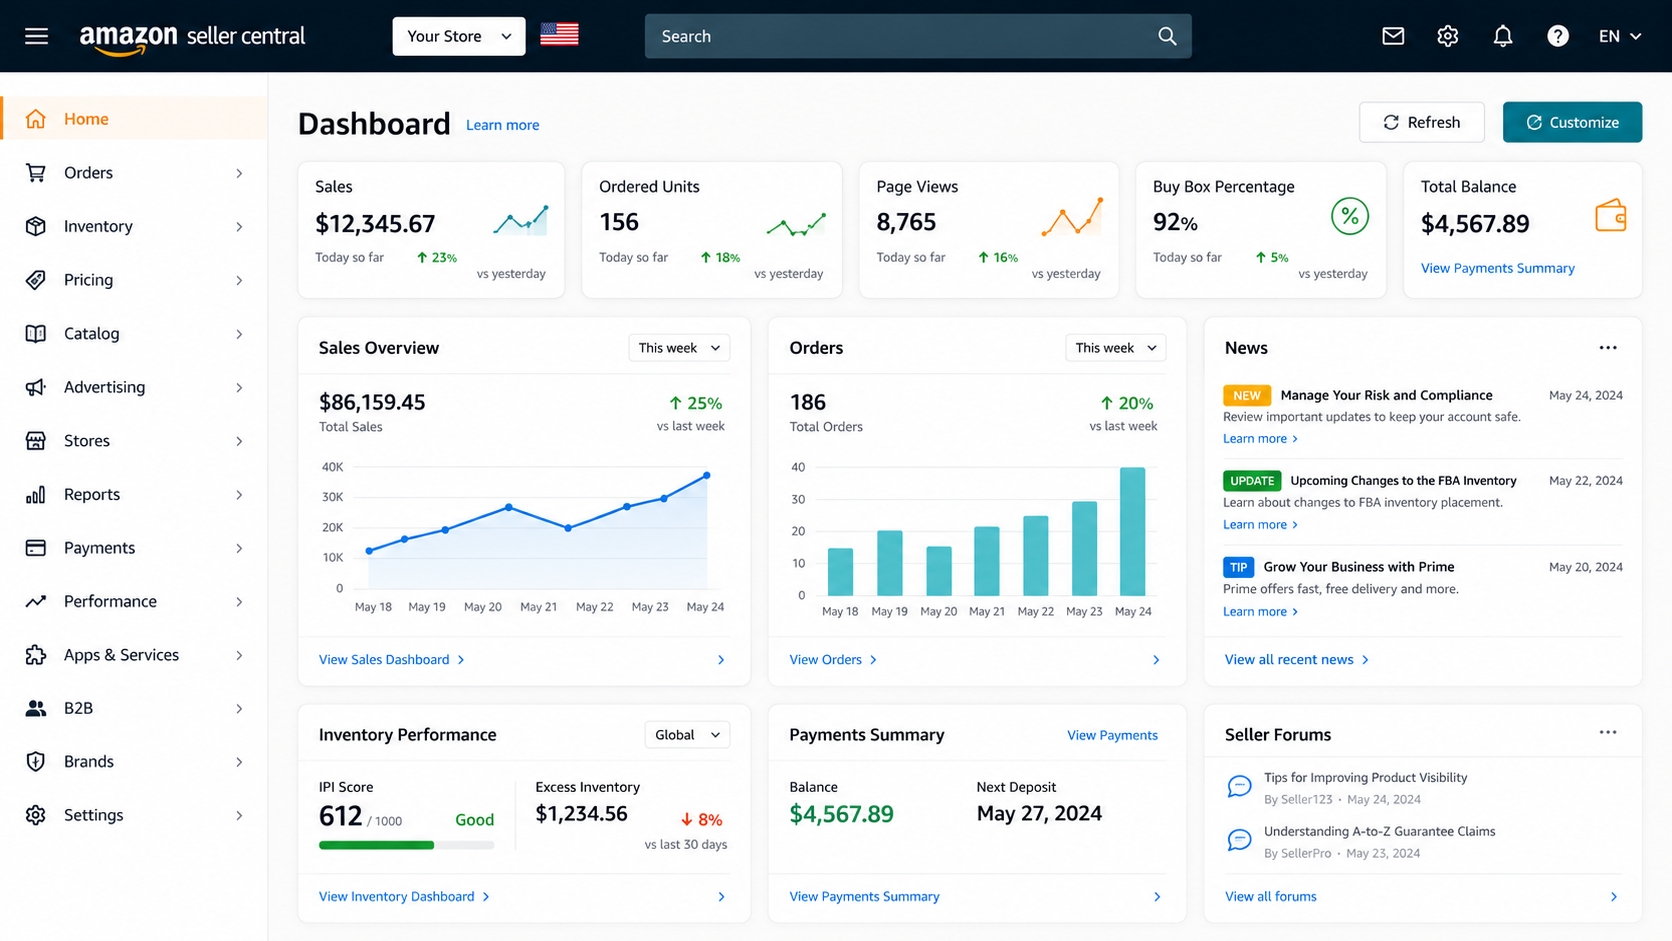
Monitor the "Account Health" dashboard for performance metrics such as order defect rate, late shipment rate, and policy violations.
Alerts new sellers should monitor weekly
Policy violation notices.
Invoices pending for payment.
Low inventory warnings.
Customer feedback requiring response.
Amazon Seller Login Troubleshooting
Even experienced sellers encounter login hiccups. Below are the most common issues and how to fix them.
Forgot password
Click "Forgot your password?" on the sign‑in page. Amazon will email a reset link; for security, it also asks for the last four digits of the credit card on file.
Two‑step verification issues
If you can't receive the OTP, use the backup code you saved during setup. You can also reset 2SV from the "Security Credentials" page after verifying your identity.
Locked or suspended account
A lockdown usually follows policy violations. Contact Seller Support via "Help → Get Support" and provide the requested documentation to reactivate.
Wrong marketplace login
Make sure the URL matches your intended marketplace (e.g., sellercentral.amazon.com for US). Changing the marketplace after registration requires an additional verification step.
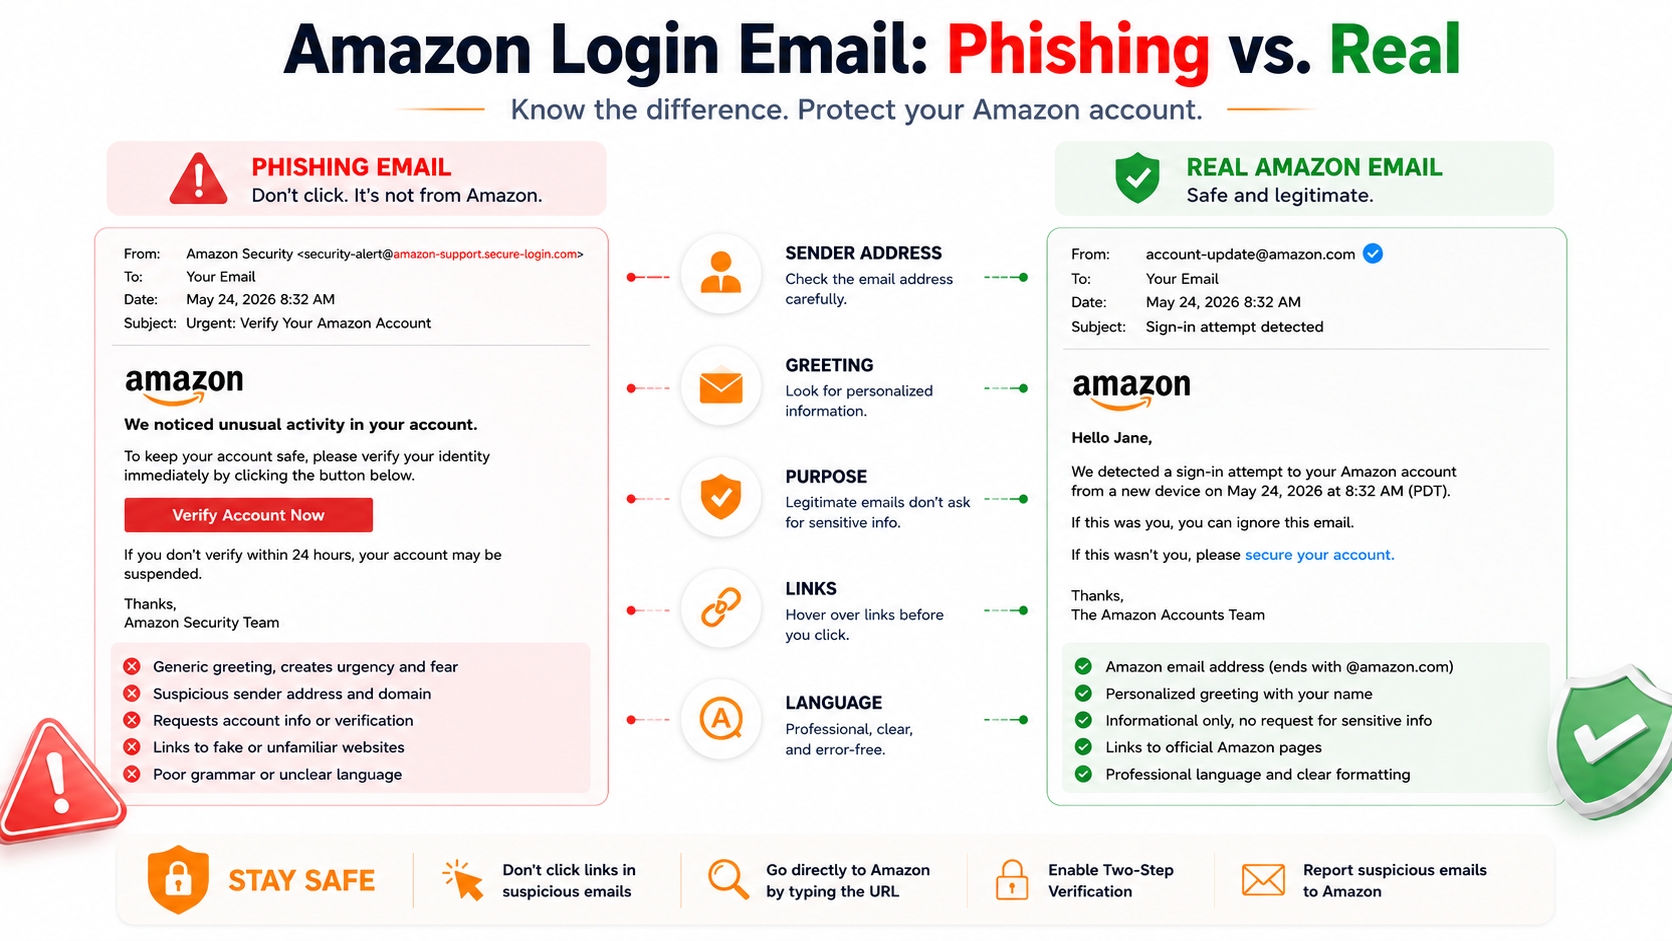
How to avoid fake Seller Central pages
Always verify the URL begins with "sellercentral.amazon.com". Phishing sites often use similar domains but lack Amazon's SSL certificate (https://).
After Login: Use Data Before Listing Your First Product
Your Seller Central dashboard gives you powerful data tools. Leverage them to validate demand, estimate margins, and craft a competitive listing.
Validate product demand
Use "Amazon Marketplace Web Service (MWS) Reports" or the "Brand Analytics" dashboard (available to brand‑registered sellers) to see search volume and sales velocity.
Research keywords
The "Search Term Report" reveals the exact phrases shoppers use. Incorporate the top‑performing keywords into your title, bullet points, and backend search terms.
Estimate margin
Calculate FBA fees using Amazon's "FBA Revenue Calculator". Input your product cost, shipping, and target price to see net profit after Amazon fees.
Build your first listing plan
Draft a listing template that includes high‑resolution images, SEO‑optimized copy, and product specifications. Test the copy with a small PPC campaign before full launch.
Where SellerSprite fits in the workflow
SellerSprite's AI tools automate keyword research, profit calculations, and listing creation, saving you hours of manual work. Integrate the toolkit directly from the "Tools" menu once you're logged in.
FAQ
Is Amazon Seller Central the same as my buyer account?
No. A buyer account lets you shop on Amazon, while Seller Central is a separate portal for managing your own product listings, orders, and performance metrics.
Can I log in before my seller account is approved?
You cannot access Seller Central until Amazon confirms your registration and identity. Attempting to log in will redirect you to the pending approval page.
What should I do if Seller Central asks for verification again?
Provide the requested documents again, ensuring they match the information already on file (name, address, and tax ID). Contact Seller Support if the request seems repetitive.
Can multiple team members use one Amazon seller account?
Yes. Through "Settings → User Permissions" you can add secondary users with role‑based access, keeping your primary credentials private.
Which Seller Central marketplace should I log in to?
Log in to the marketplace where you registered (e.g., sellercentral.amazon.com for the US). You can add other marketplaces later, but each has its own login entry point.
Next Steps
- Complete the registration checklist above and submit your documents.
- Visit the SellerSprite sign‑up page to unlock AI‑powered tools for keyword research and listing creation.
References
By SellerSprite Success Team
The SellerSprite Success Team combines years of Amazon marketplace expertise, e‑commerce strategy, and data‑science to help sellers launch, grow, and maintain profitable Amazon businesses.