TL;DR: Follow this quick‑start guide to master the Amazon Seller Central dashboard, set up the first 10 critical settings, and keep your account health on track.
Key Takeaways
- Identify and configure the ten most important Seller Central settings right after your first login.
- Use the dashboard map to know where to find Catalog, Inventory, Orders, Advertising, Reports and Performance data.
- Establish a daily/weekly routine and add data‑tools to drive smarter product and profit decisions.
Table of Contents
Note on marketplaces: This guide is specifically optimized for the US market.
Whether you are a brand‑new seller or a growing Amazon business, the first hours after your initial login are decisive. To get a solid foundation, start with our Amazon Seller Login Guide, then explore the Seller Login Toolkit for deeper setup guidance and post-period tools.
Quick Answer
Below is the distilled checklist of the first ten settings you must verify after your initial Seller Central login. Completing these steps will safeguard payments, compliance, and the buying experience for your customers.
The first 10 settings to check
We've grouped the settings into three logical categories, including Account & Legal, Finance & Tax, and Operations.
First‑10 Settings Checklist
- Business & legal entity information
- Deposit (bank) method
- Charge (credit card) method
- Tax collection settings (VAT/GST)
- Shipping profile configuration
- Return policy setup
- Notification preferences (email/SMS)
- User permissions (admin vs. limited)
- Performance notifications
- Marketplace‑specific compliance alerts
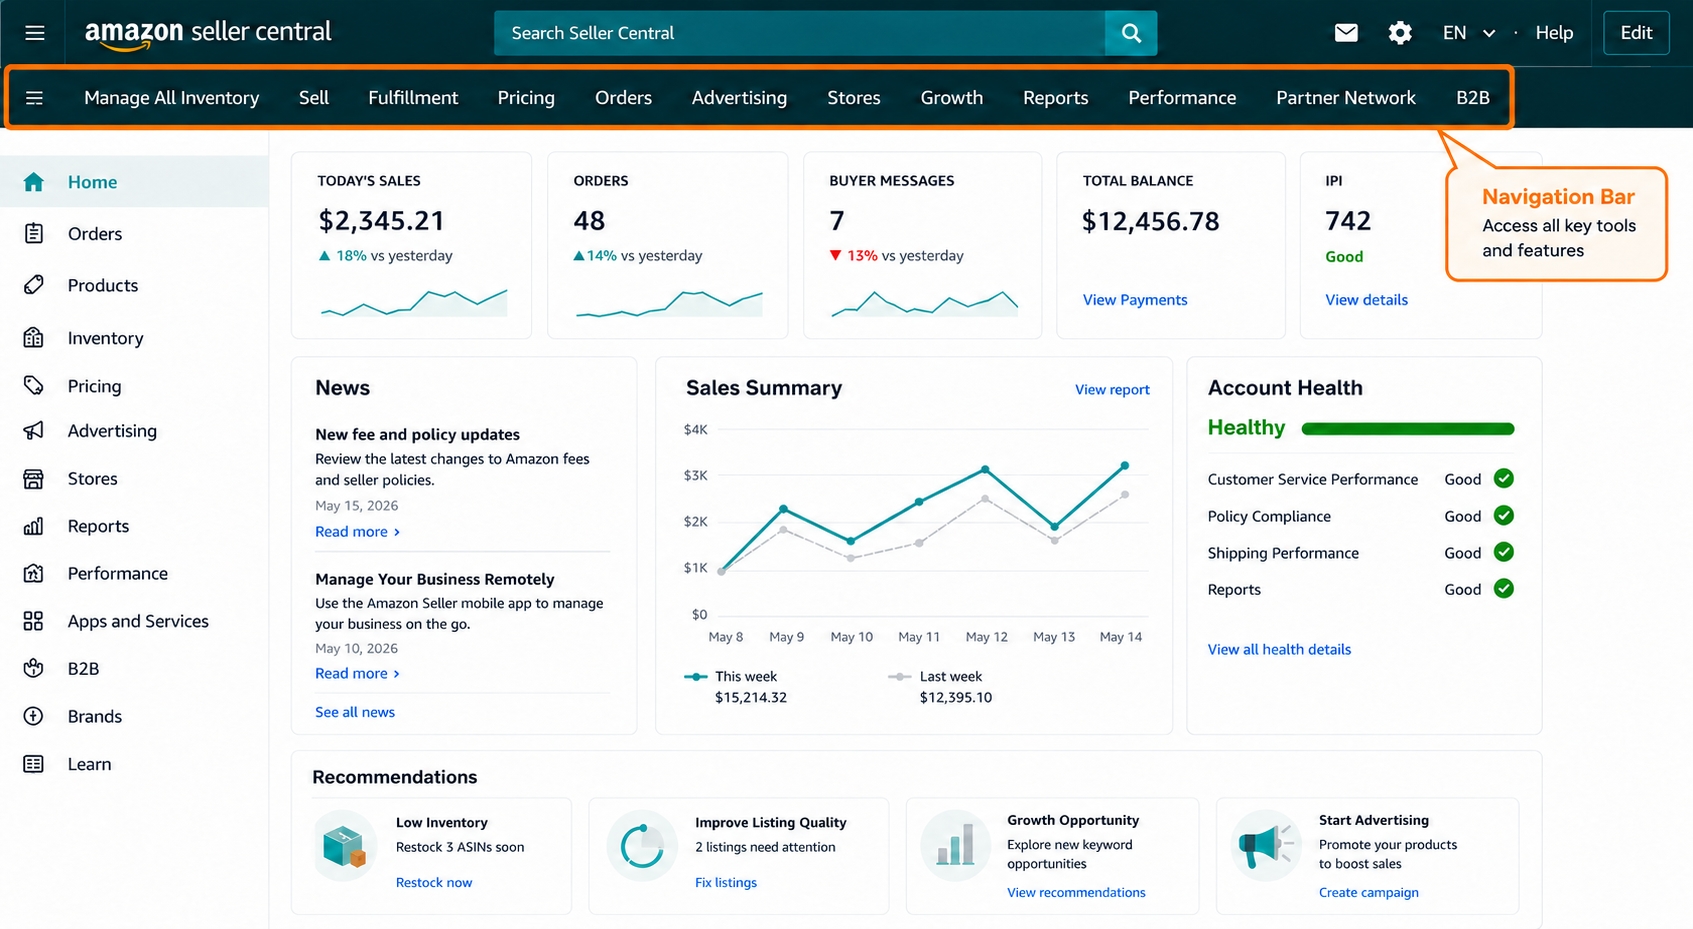
Seller Central Dashboard Map
Understanding where each major menu lives saves time and reduces the learning curve. Below we walk through the core sections that appear on the left navigation pane.
Catalog
The Catalog area lets you add new ASINs, edit product details, and manage bulk uploads. Use it whenever you're expanding your SKU count or updating titles, images, or bullet points.
Inventory
Inventory shows real‑time stock levels, inbound shipments, and reserved quantities. Monitoring inventory here helps you avoid out‑of‑stock penalties and keep the Buy Box.
Orders
All customer orders, cancellations, and returns funnel through this hub. You can process picks, print packing slips, and issue refunds directly from the Orders page.
Advertising
Run Sponsored Products, Brands, and Display campaigns here. The Advertising dashboard also shows ACOS, spend, and ROI metrics for each ad group.
Reports
Generate custom CSV reports on sales, inventory, and performance. The Reports section is essential for deep‑dive analysis and for feeding external data‑tools.
Performance
Your account's health metrics, such as Order Defect Rate, Late Shipment Rate, and Policy Violations, are displayed here. Keeping an eye on Performance prevents suspensions.
What each menu controls
In short, Catalog & Inventory manage product data, Orders handle fulfillment, Advertising drives traffic, Reports feed analytics, and Performance safeguards your selling privileges.
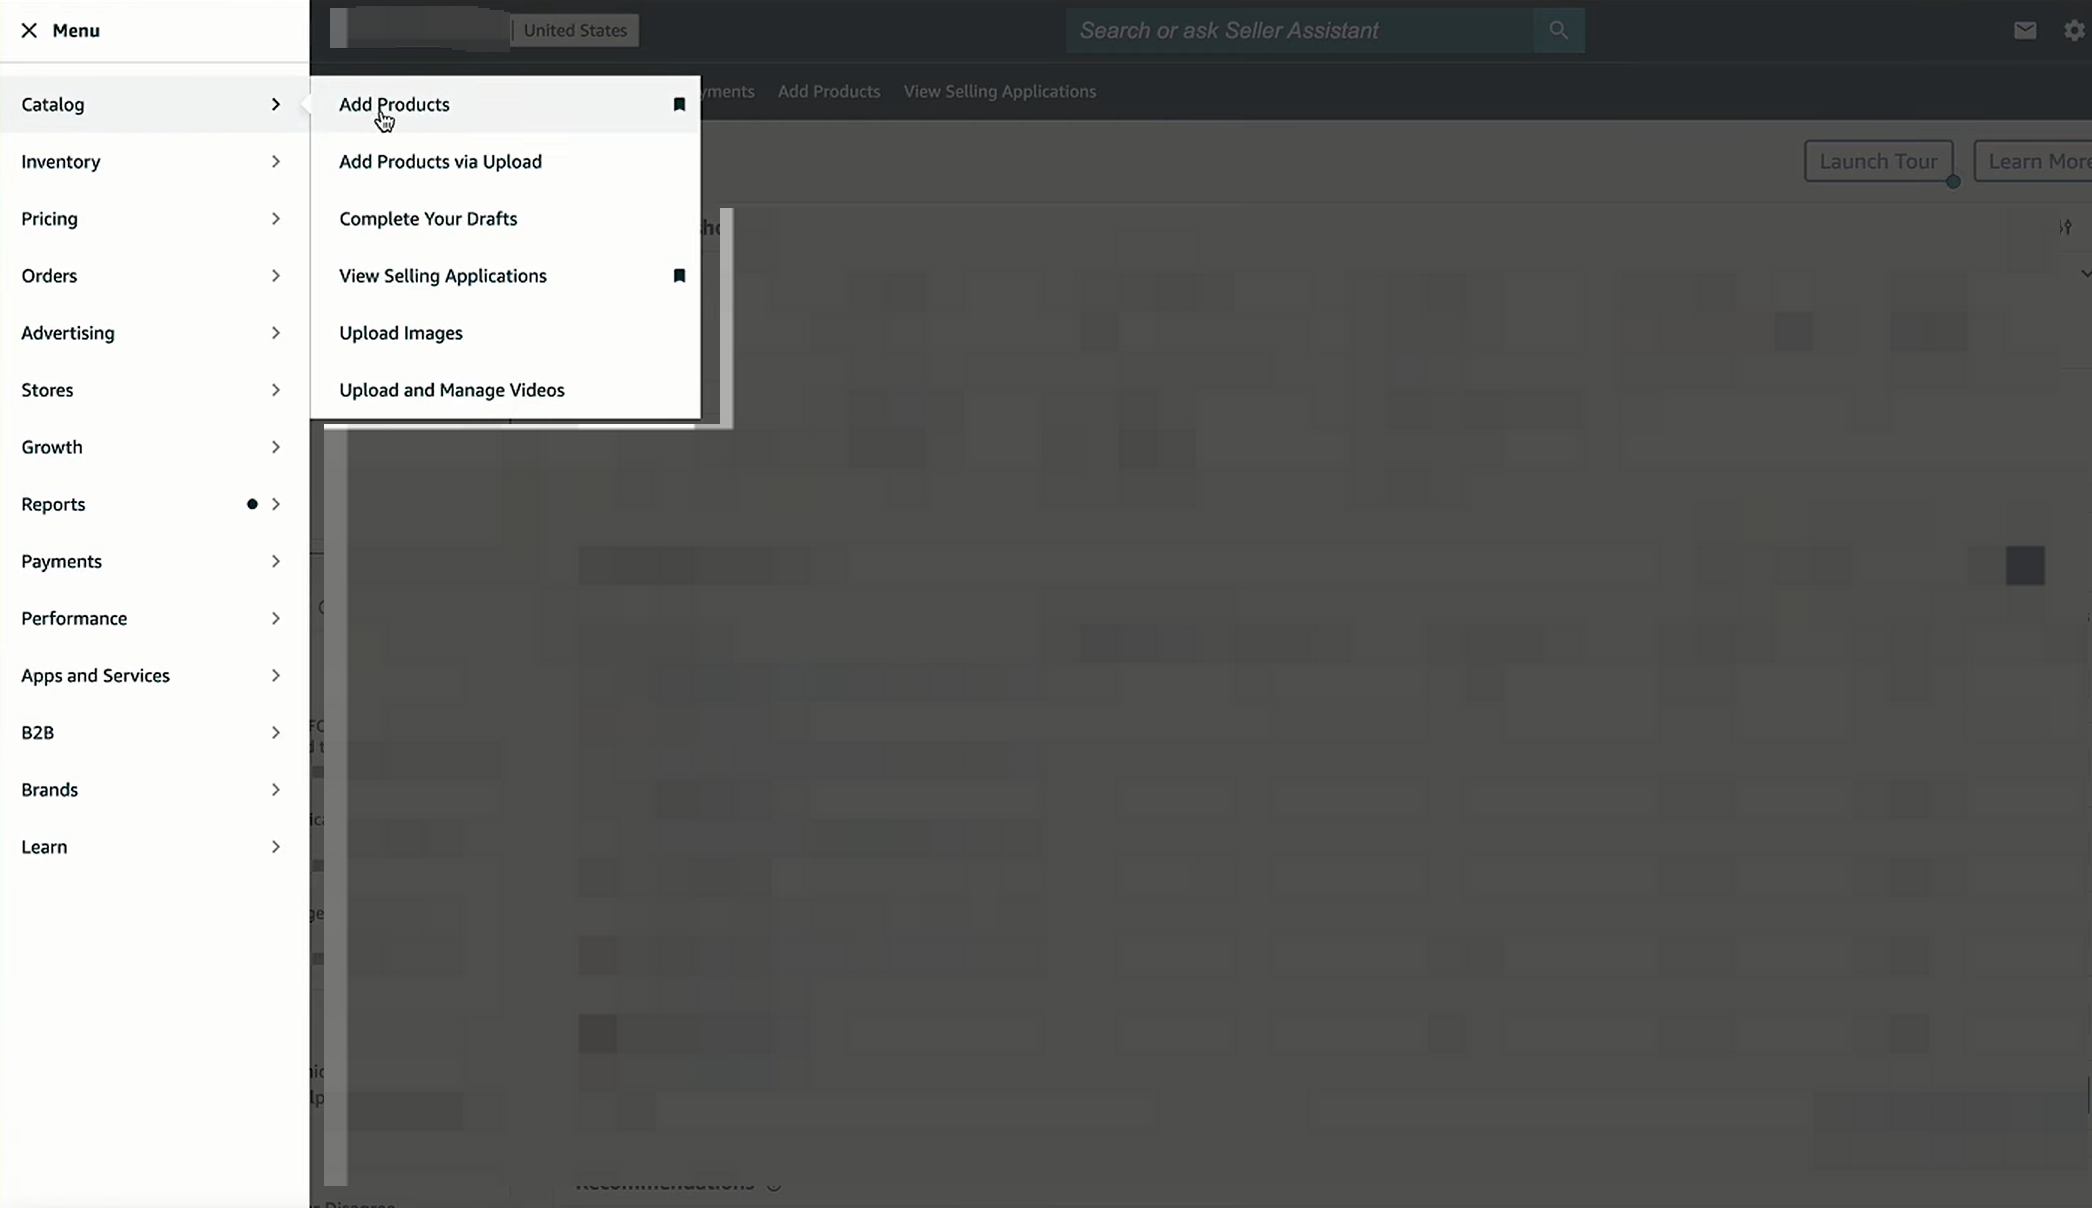
First 10 Settings After Login
Now that you know where everything lives, let's dive into the exact configuration steps you need to complete right after your first sign‑in.
Account info and legal entity
Navigate to Settings → Account Info → Business Information. Verify your legal entity name, address, phone number, and business display information. Amazon may cross-check these details against tax records and identity documents, so any mismatch can delay verification, payments, or marketplace approval.
Deposit method
Under Settings → Account Info → Deposit Method, add the bank account where Amazon will transfer your sales proceeds. Confirm the account holder name, routing number, account number, and marketplace currency carefully. A wrong or unverified deposit method can hold up disbursements even when your listings are active.
Charge method
In Settings → Account Info → Charge Method, confirm the credit card Amazon uses for subscription fees, advertising charges, refunds, and any negative account balance. Use a valid card with enough available credit and keep the billing address consistent with your business information to avoid failed charges or account restrictions.
Tax collection settings
Visit Settings → Account Info → Tax Information and complete the required tax interview, such as a W-9 for US sellers or the relevant VAT/GST details for international sellers. Incorrect tax settings can lead to withholding, reporting issues, or compliance delays, so double-check your EIN, SSN, company name, and marketplace tax obligations.
Shipping settings
In Settings → Shipping Settings, select your shipping templates, handling time, delivery regions, and service levels such as Standard or Expedited. Align shipping promises with your actual fulfillment capacity and product pricing, because late shipments, unrealistic delivery windows, or underestimated shipping costs can hurt performance and profit.
Return settings
Configure your return policy under Settings → Return Settings. Review the return window, return address, returnless refund options, and who pays return shipping where applicable. A clear return setup reduces buyer confusion, support tickets, A-to-Z claims, and preventable account health issues.
Notification preferences
Set up email and SMS alerts in Settings → Notification Preferences. Enable alerts for orders, buyer messages, returns, listing issues, policy updates, and performance warnings. These alerts help you react quickly before small problems become missed shipments, suppressed listings, or account health risks.
User permissions
Add team members via Settings → User Permissions. Assign roles based on responsibilities instead of sharing one administrator login. For example, a fulfillment partner may need order access, while a marketing teammate may need advertising or report access. Keep payment, tax, and account administration permissions limited to trusted admins.
Admin vs. limited access
Admins have full control, including financial settings and policy changes. Limited users can manage listings, orders, or reports but cannot alter the core account settings. Use limited access for agencies, assistants, fulfillment partners, and external operators whenever possible.
Performance notifications
Check your performance alert settings and monitor Performance → Account Health regularly. Make sure important notices about Order Defect Rate, Late Shipment Rate, Valid Tracking Rate, cancellation rate, policy warnings, and listing violations are sent to an email address that is checked daily. Missing a performance warning can turn a fixable issue into a suspension risk.
Marketplace-specific compliance alerts
If you sell in more than one marketplace, review compliance alerts for each region instead of assuming one setup applies everywhere. Product safety rules, tax requirements, restricted categories, labeling rules, documentation requests, and return expectations can vary by marketplace. Check these alerts before expanding a listing to another country or sending inventory to a new fulfillment network.
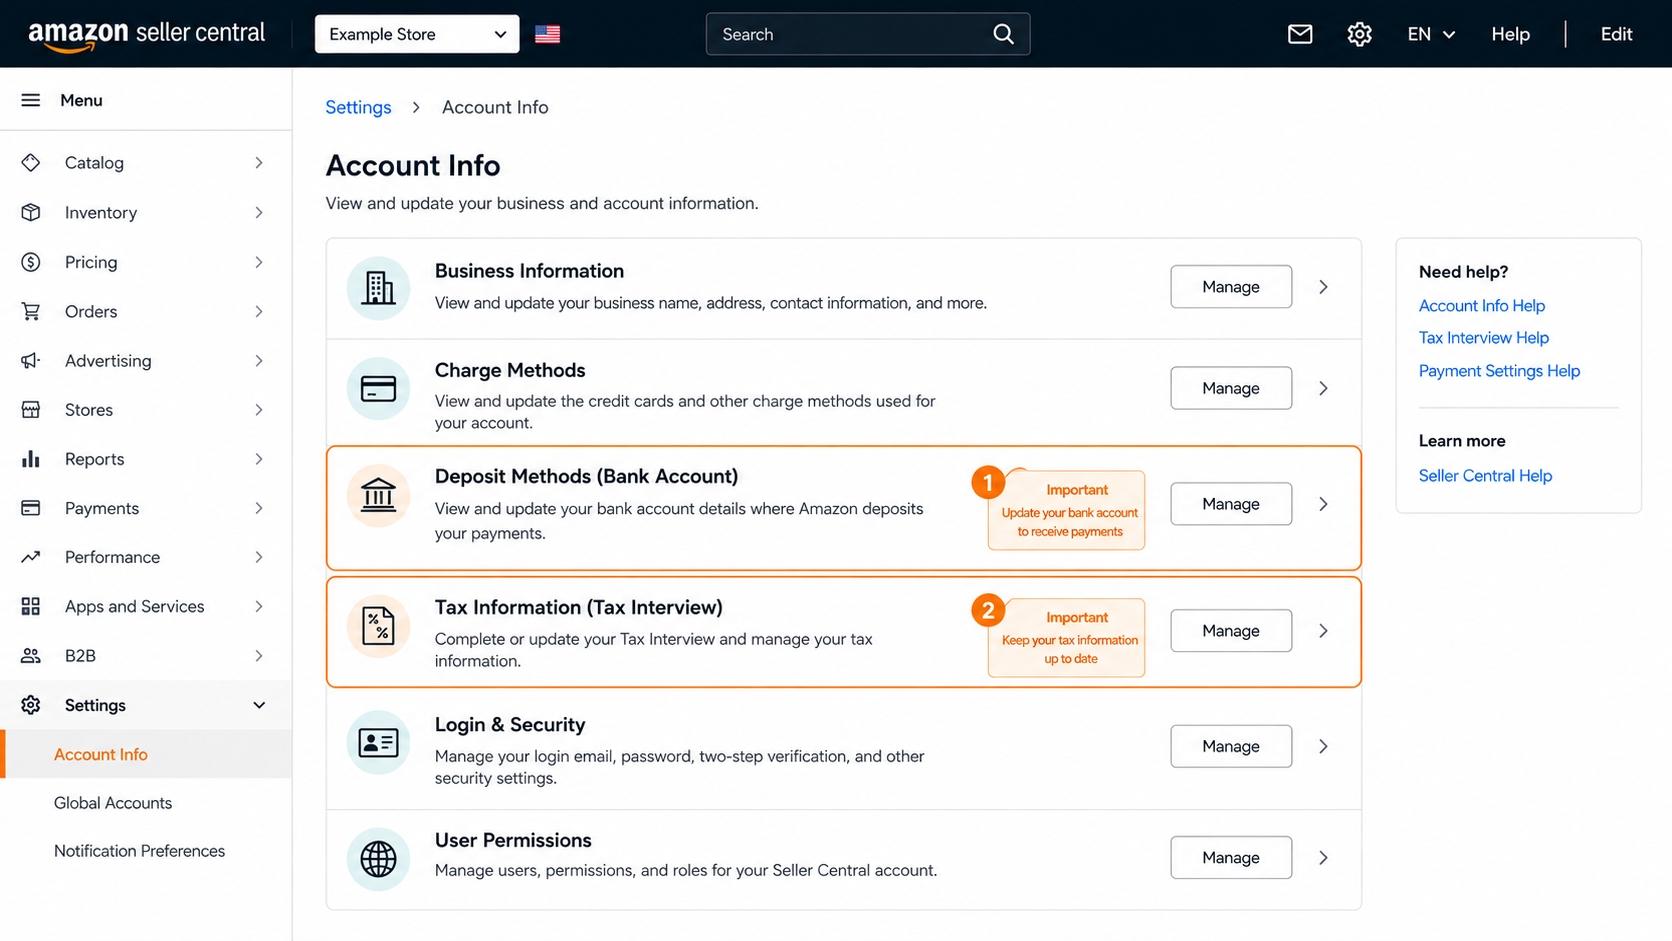
Daily and Weekly Seller Routine
After you've locked down the first‑ten settings, adopt a repeatable routine to keep your store running smoothly.
Orders and messages
Log in each morning to the Orders tab. Acknowledge buyer messages within 24 hours to maintain a high response rate, which Amazon tracks as part of Performance.
Account Health
Check the Performance → Account Health dashboard at least once a week. Look for red or yellow alerts on Order Defect Rate, Late Shipment Rate, and Policy Violations. Promptly address any issues to avoid suspension.
Sales and traffic review
Pull the Business Reports for the previous week. Compare sessions, conversion rate, and units sold to spot trends. If a SKU's conversion drops, consider price adjustments or advertising tweaks.
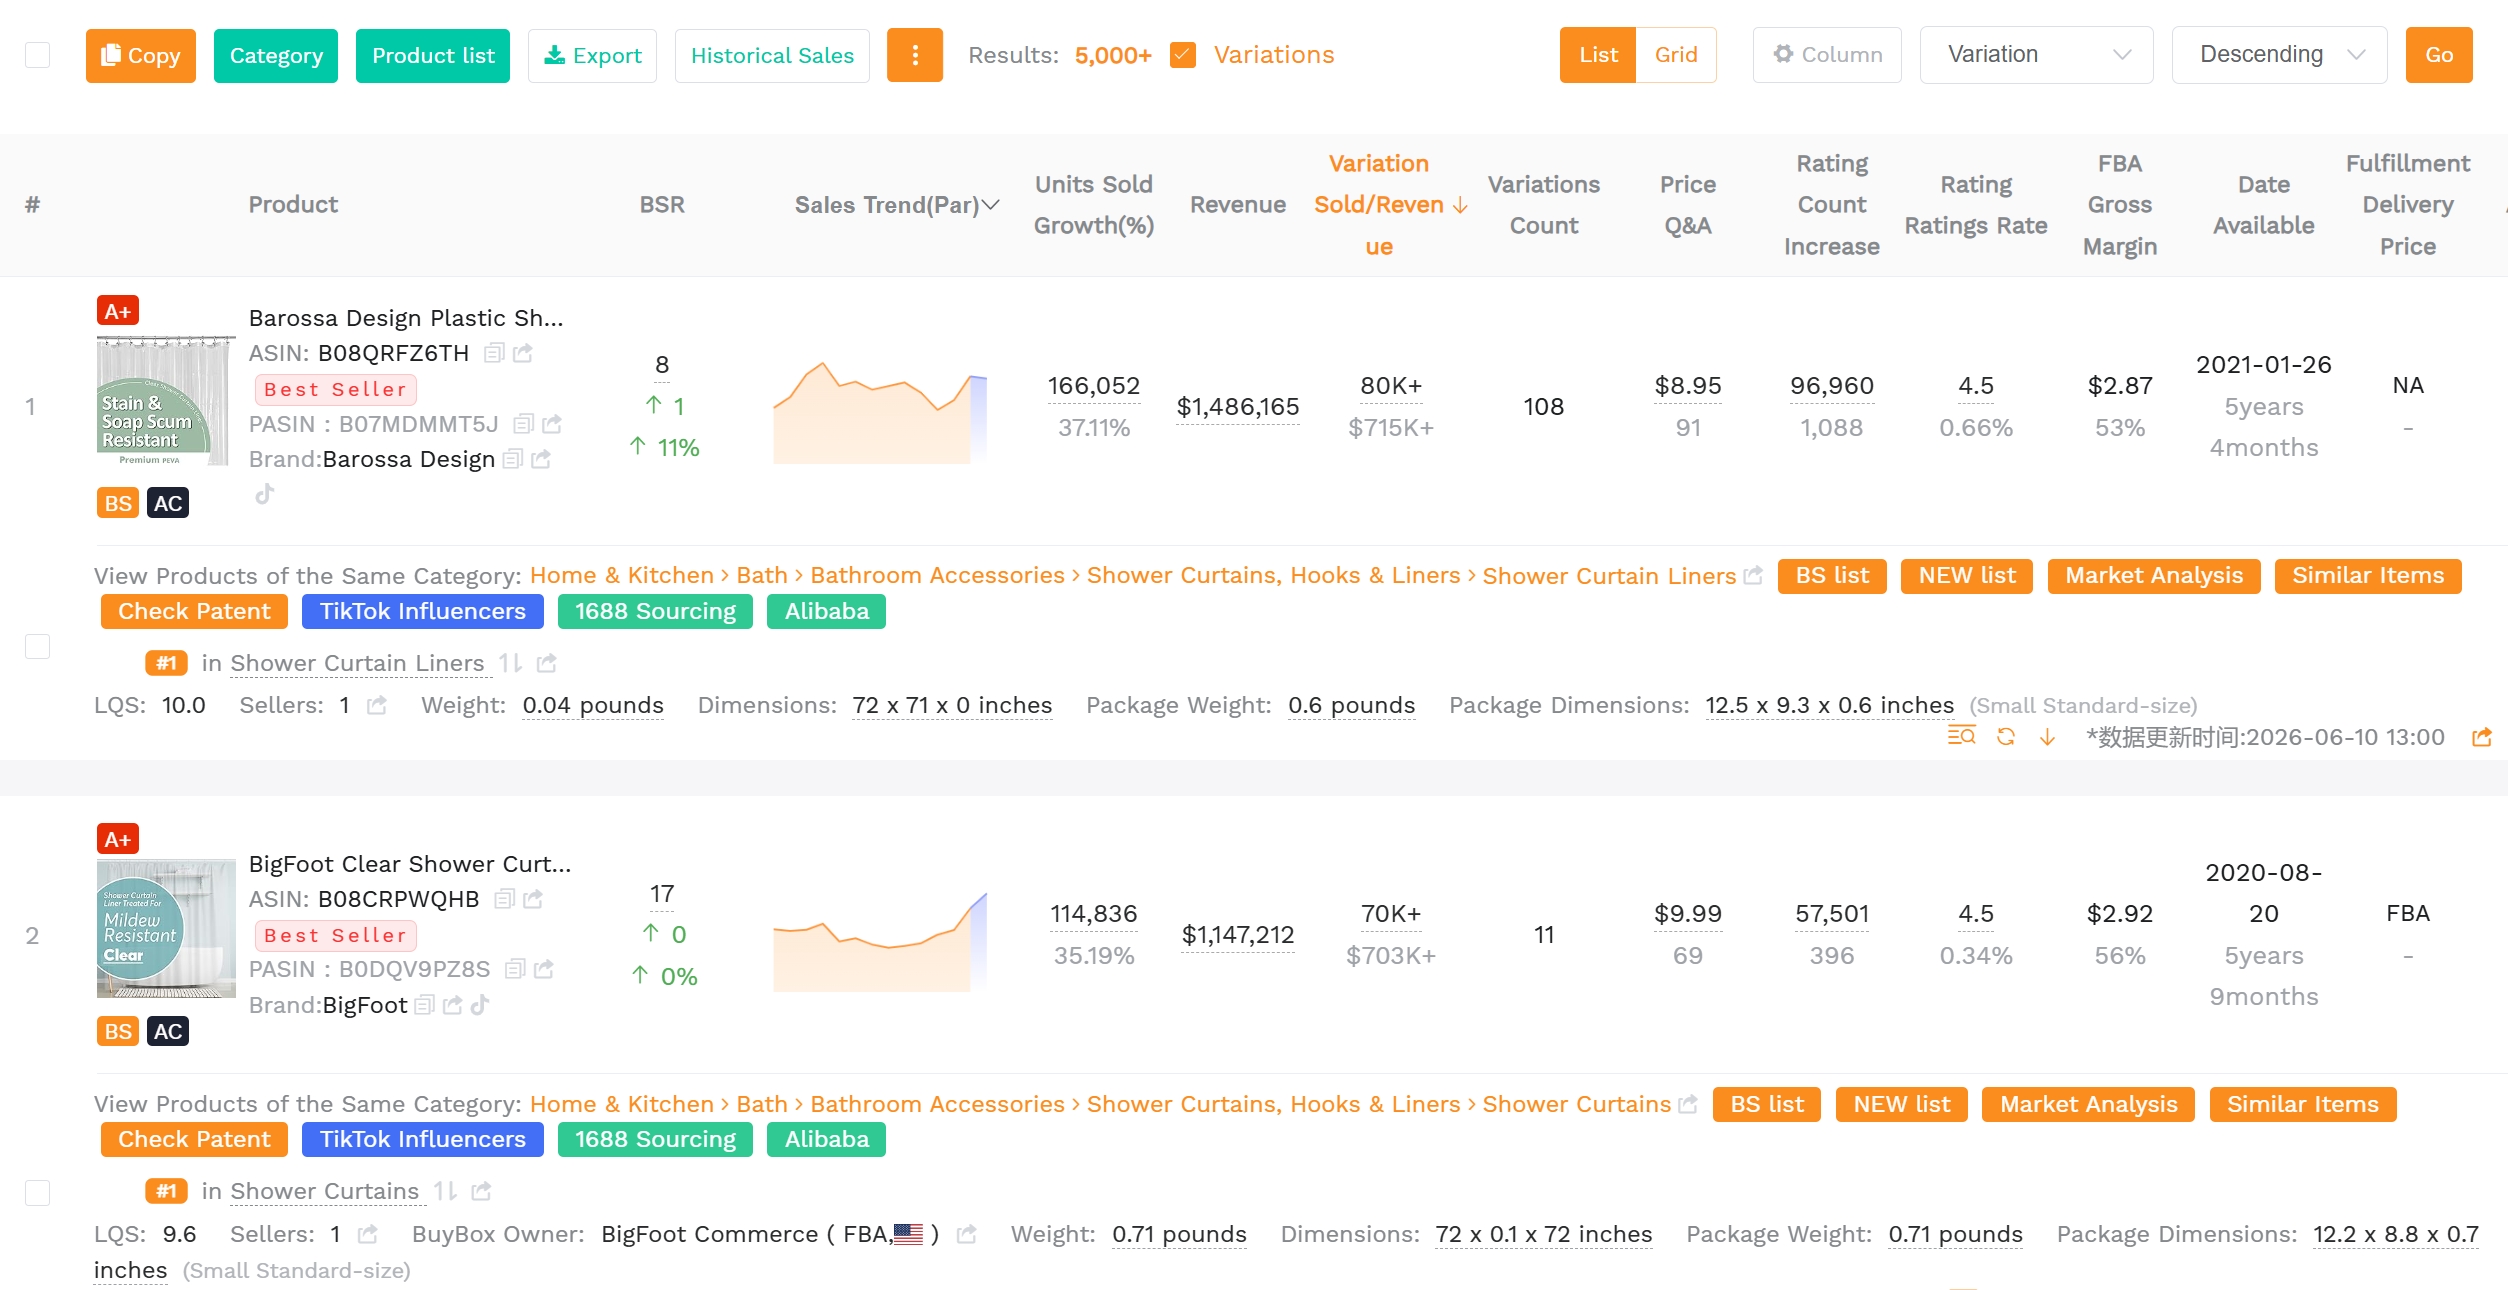
Data Tools to Add After Setup
Once your core settings are stable, enrich your workflow with third‑party tools that improves efficiency.
Product research
Tools like SellerSprite pull market data directly and help you discover high‑margin niches before you source inventory.
Keyword tracking
Integrate a keyword tracker to monitor both organic and sponsored search positions. Early identification of declining rankings allows you to adjust bids or refresh content.
Profit calculation
Use a profit calculator that combines FBA fees, shipping costs, and Amazon referral fees. Automating this calculation prevents margin erosion.
FAQ
What should I check first after logging in to Amazon Seller Central?
Start with the ten settings listed in our checklist: business information, bank deposit method, credit‑card charge method, tax interview, shipping profile, return policy, notification preferences, user permissions, performance alerts, and marketplace compliance.
Where do I update payment and business information in Seller Central?
Navigate to Settings → Account Info → Business Information to edit your legal entity, address, and bank deposit details. The same menu also houses tax interview and charge method settings.
How do I manage user permissions in Seller Central?
Go to Settings → User Permissions. Click "Add a user," enter their email, and assign a role (Admin, Full Access, Limited). Admins can change financial settings; limited users cannot.
Which Seller Central settings affect shipping and returns?
Shipping profiles are configured under Settings → Shipping Settings, while return policies live in Settings → Return Settings. Both influence buyer experience and can impact the Buy Box.
What dashboard sections should new sellers monitor weekly?
Focus on Orders, Performance (Account Health), Business Reports (sales & traffic), and the Advertising tab for campaign spend. Weekly checks help you catch performance alerts early.
Next Steps
- Log into Seller Central and complete the First‑10 Settings Checklist above.
- Set up daily/weekly monitoring routines and leverage a data‑tool of your choice.
- Visit our SellerSprite free trial to automate analytics and grow your brand faster.
References
- Amazon Seller University – Getting Started Guide View
- Amazon Seller Login Toolkit View
- Amazon Seller Login Guide View
By SellerSprite Success Team
Our team combines years of Amazon marketplace experience, data‑science expertise, and e‑commerce consultancy to help new and growing sellers accelerate their Amazon business with proven strategies and automation tools.